


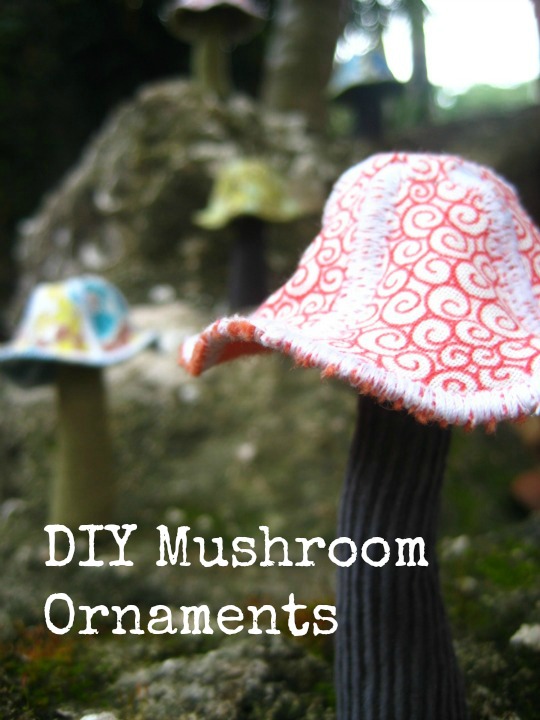
I’m kind of giddy to share this project with you (thus the uncharacteristic Saturday post)! I created this simple little pattern years ago when I was selling my wares at the Austin Waldorf School winter fair and needing a few under-$10 items. They are so so fun (and quick) to make, they’re a perfect way to use up scraps and each one quickly takes on a personality all its own, despite the character you might have thought you were molding (pun intended).
If you prefer that they stand up (seasons table?) rather than being hung on your Christmas tree, just fill the bottom half of the stem with millet or sand.
Happing shrooming, my friends! (Ok, maybe not that happy.)
*Basic machine sewing skills assumed
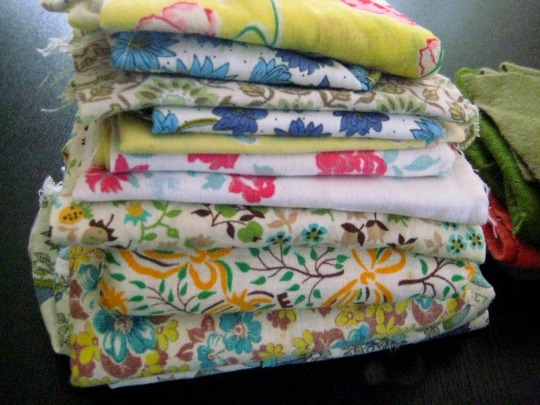
Step 1:
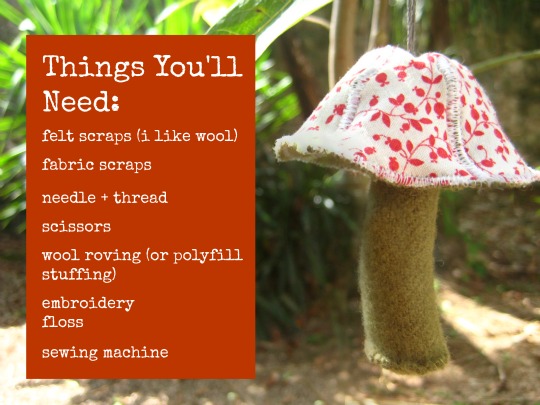
Peruse your scrap pile for tiny prints, favorite solids and leftover bits of felt.
Step 2:
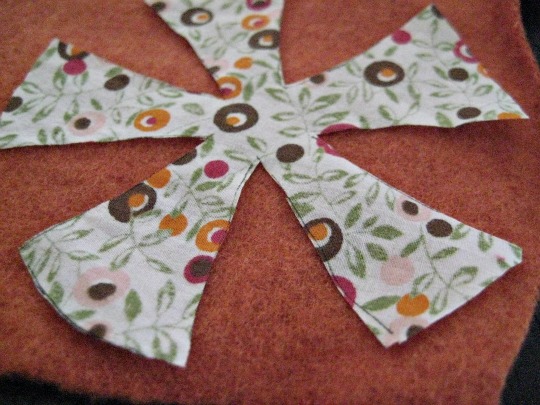
Make your template(s) by cutting circles from scrap paper. (I traced the lid of a large-mouthed canning jar). Next, using another, smaller circular shape (I used a spool of thread), draw a second circle in the middle of the first to act as a guide. Cut notches out of the paper as shown in the following photo. The first one will result in a more rounded mushroom cap and the second a little more pointy. I don’t advise using the third shape. It gave a great pointy cap with lots of character (third from last photo in this post), but it was also the closest I’ve been to sewing through my fingers in all my 17 years as a seamstress.
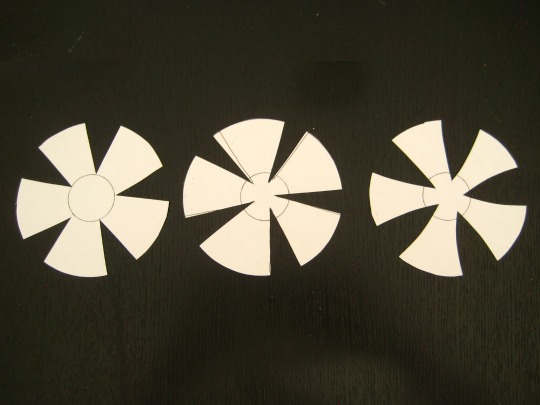
I just eyeballed these (having mostly recovered from my perfectionism), but you’ll have an easier time of it if you try and make the notches more or less even (especially with regards to the distance from the tips to the center of the circle).
Step 3:
Trace your template onto one scrap of fabric and one scrap of felt. Cut out both and pin wrong sides together. (Pay no attention to the fact that this photo shows the right side of the print facing down. Trust me…wrong sides together.)
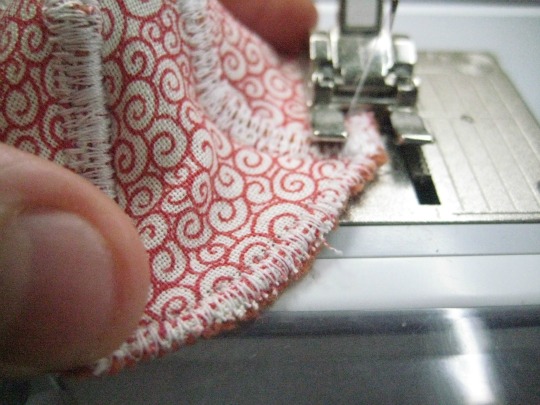
Step 4:
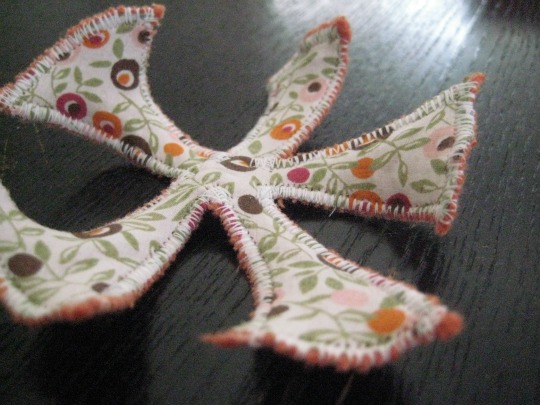
Cut out fabric and felt. Keeping wrong sides together and using a tight, and medium-wide zigzag stitch, stitch around all edges, backstitching at the beginning and end. Be sure and leave your needle in your fabric when you make a turn. Its personality is now taking shape!
Step 5:
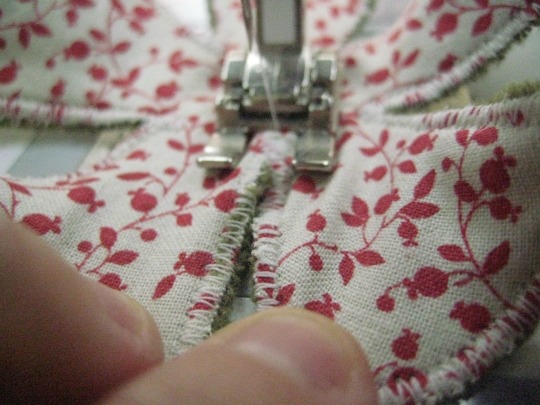
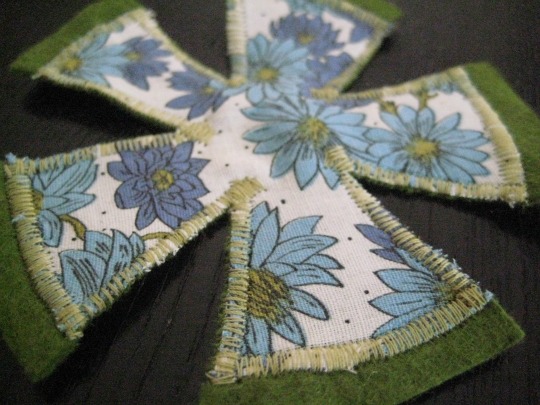
Widen your stitch width a bit. Holding two sections together side by side, stitch cap sections from the inside of the circle out toward the edge. Do not overlap the edges.
Step 6:
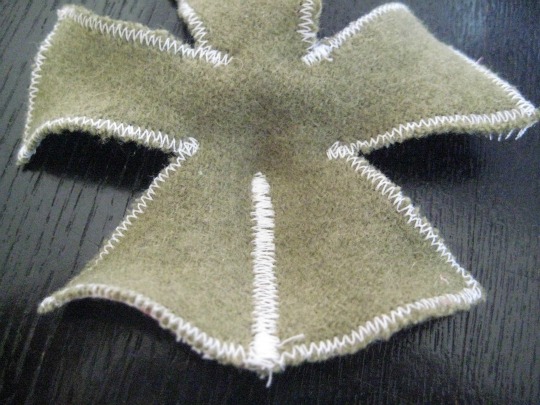
Continue with the rest of the sections until it looks like this. You may need to sew the last one from the outside in depending on how tight the squeeze.

Step 7:
If you want more definition, sew around the edge of the cap one more time.
Step 8:
Set cap aside. Cute already, huh?

Step 9:
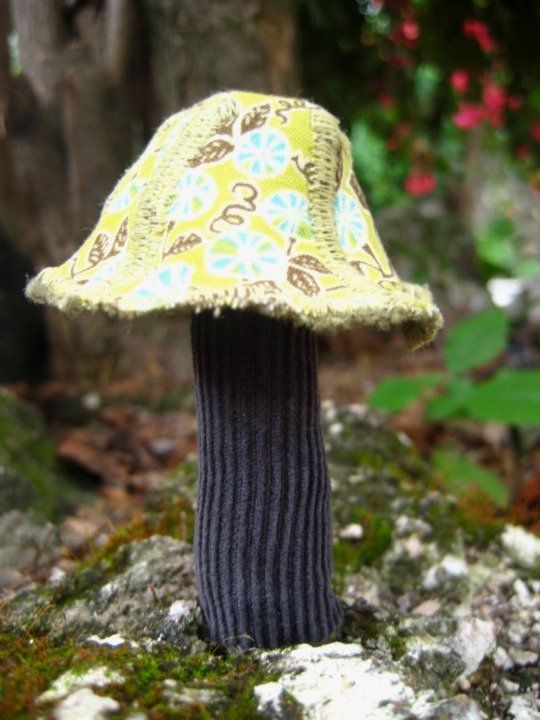
Decide upon your stem fabric. It is easier with felt, but I used old corduroy, too and liked the effect. Cut out a rectangle of fabric (roll it into a tube to judge the size with the cap) and fold in half right sides together. Using a straight stitch, sew along the long edge, in whatever shape you’d like. My favorite look includes a thinner stem at the top with a wider base. Trim seam allowance and turn.

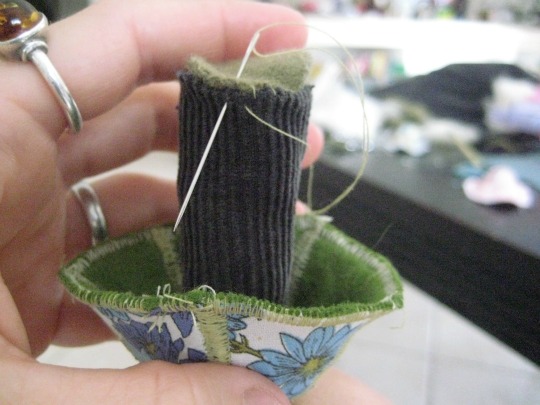
Step 10:
Turn mushroom cap inside out and using your needle and thread, stitch stem to the inside of the cap. Turn under edges if you are using something other than felt.
Step 11:
Stuff stem tightly with roving or polyfill using a pencil or something narrow. Use millet or sand for the bottom half if you want it to stand up. Cut a small circle of felt and sew it to the bottom of the stem, turning under edges if not using felt for the stem.
(This mushroom is a good example of one that could use another finishing stitch around the edge. (I trimmed it a bit and nicked the stitching).
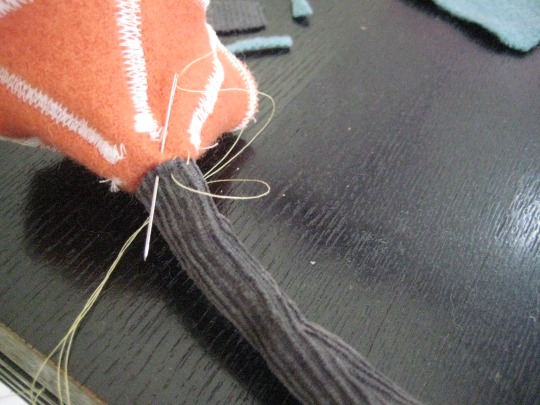
Step 12:
Attach a loop of embroidery floss to the top. I did it by I tying a loop in a length of thread, then threading my needle onto each end one at a time and sewing them through the top, tacking it to the inside of the cap. You could do it in any number of ways.
And there you have it! There are so many possible variations. Here’s one I thought of after the fact…
Check out their unique personalities!
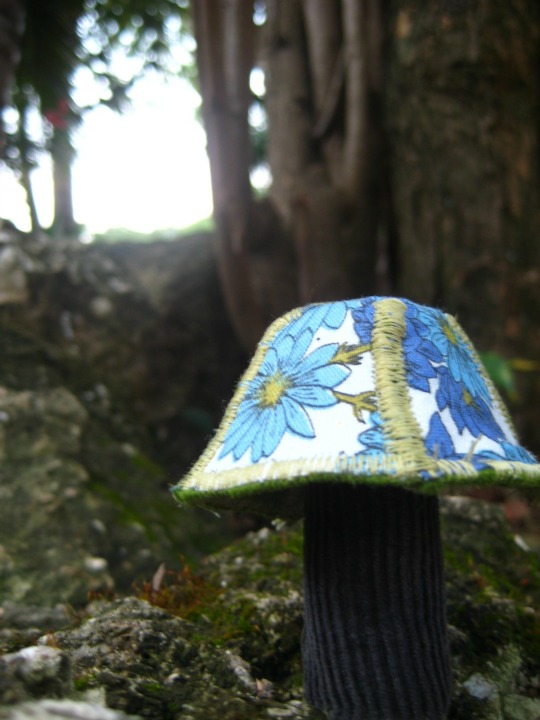
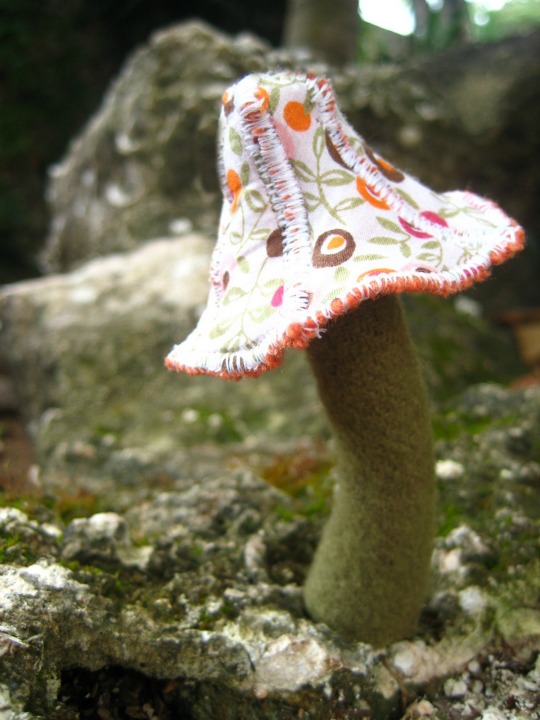
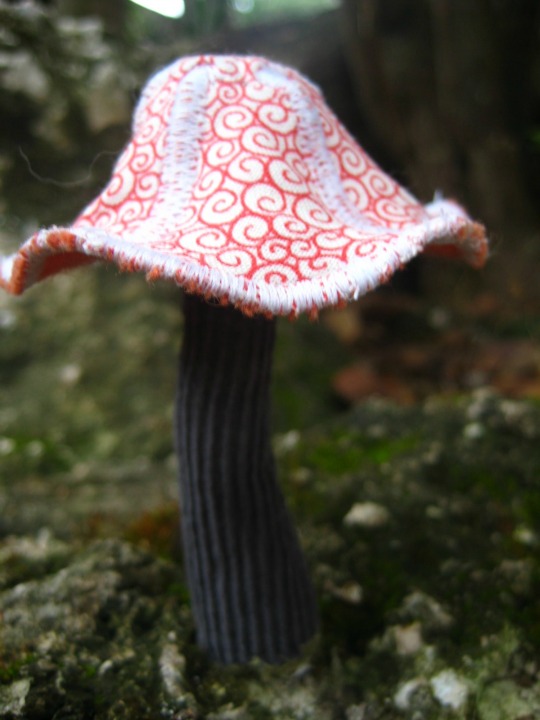
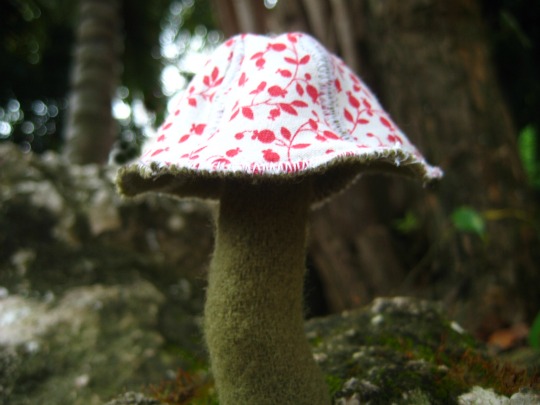
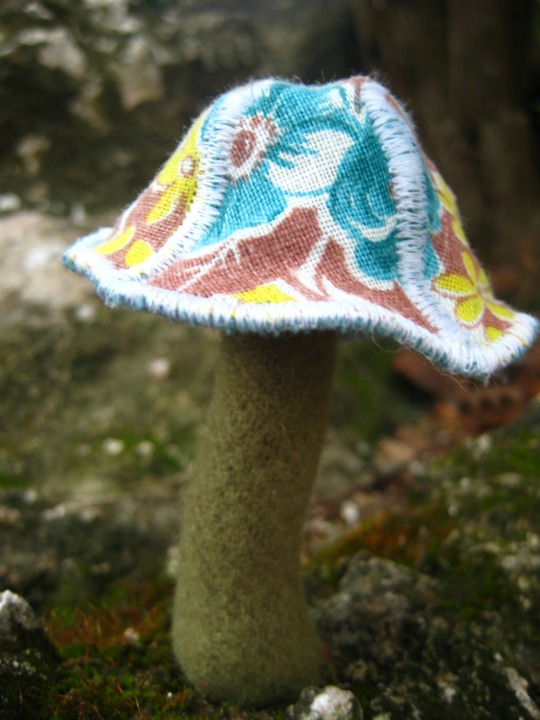
Pretty freaking cute, huh? The last two are my favorites. They seem to have grown straight out of the ground.
Think of all the teacher gift and gift swap potential! (Anthropologie, eat your heart out.) Feel free to share this tutorial, let me know how it goes and all the best to you and yours this holiday season!
Leave a Reply

These are gorgeous, thank you for the tutorial. One for the new year I think 🙂
I love these!!
These are so sweet! Thank you for your tutorial.
These are super cute. I’m making little mushroom people for an school art project :))
Each one is beautiful. I can’t wait to get started !
These are absolutely the CUTEST THINGS, I can’t wait to show my sewing friends. Thank You