August 6, 2013
And just like that, our five weeks in Austin are behind us! As the now predictable but nevertheless profound nuances of culture shock settle down a bit, and as I decide what in the (developed) world to reflect on first, I thought I’d offer a glimpse into a particularly sweet week toward the end of our trip; an unexpected week teaching summer camp.
Up until our big move south, I had my sights set on becoming a Waldorf handwork teacher. For those of you who don’t speak Waldorfian, handwork, which includes but is not limited to knitting, crochet, weaving, plant dying, embroidery, felting and eventually machine sewing, is an integral (and incredible) component of Waldorf education beginning in the first grade and continuing through high school. For years, I substitute taught at the Austin Waldorf School whenever I could, was loosely apprenticing under the lead handwork teacher, picked up as many weeks of summer camp as possible and eventually opened a home fiber arts studio of my own. This year, due to a last-minute teacher shortage, I was invited back to my old stomping grounds and spent a week on the AWS campus, teaching crafts with many children I hadn’t seen since they were toddling along behind their mothers half their lives ago. A beautiful, nostalgic week (I raised all my babies around that school), I was reminded of how much I love teaching, how much I love MAKING and how fast life’s seasons turn, if ever so subtlety.
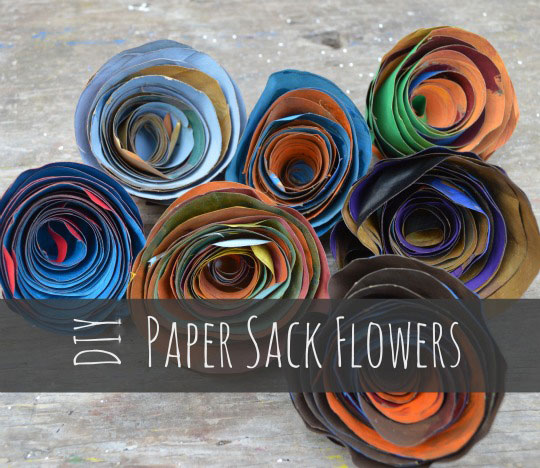
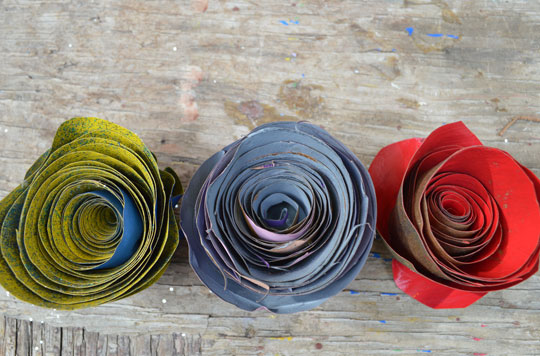
The best part of the deal? There was no time to over-think any of the projects! I just showed up, assessed the available supplies, raided a friend’s grocery sack stash and jumped right in. (This is a big deal for us recovering perfectionists.) These paper sack flowers were the suggestion of my dear friend, Kim — a remarkable artist with a particular affinity for whimsical costuming — and too big a hit not to pass along.
Though the process is simple enough for (some) six-year-olds, the uses for these blossoms are truly endless: headdresses, bouquets, table adornments, holiday ornaments? I am already planning to make a whole mess of them for our Dia de los Muertos alter. That is, of course, if I can find a single paper sack south of the border.
DIY Paper Sack Flowers
You will need:
paper grocery sacks
paint (we used craft paint)
paint brushes (broader brushes 1″ wide or more work better than fine brushes)
strong glue (elmer’s, craft glue and hot glue all work well)
cup for drying
pencil
Directions:
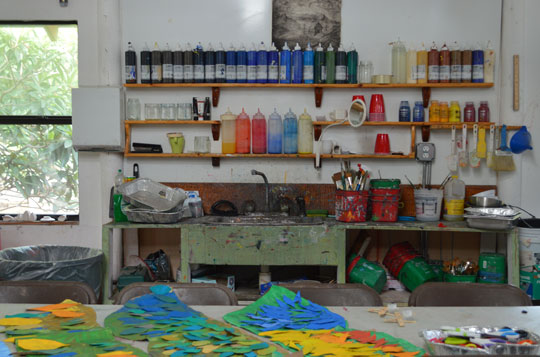
Step 1 – Open a paper sack along the seam. Cut off the bottom and lay flat. Paint both sides of sack, allowing first side to dry before flipping. (This was the best part for most of the kids. They loved the opportunity to work on a blank canvas in big strokes with as much color as they wanted. It reminded me of how often children are taught to stay inside the lines and almost exclusively use their fine motor skills. So fun to make a beautiful mess.)
Step 2 – Once completely dry and using a pencil, draw a light spiral on your painted paper sack. (I made my lines dark only so you could see them.) Starting with a sizable “base” in the center, the rings of the spiral should be thicker in the middle and become gradually thinner toward the outside edge.
Step 3 – Cut the circle (containing the spiral) from the rest of the paper sack. Use the scraps to make smaller flowers or for any number of other projects.
Step 4 – Cut along the spiraled line from the outside in until your bag resembles a coiled snake.
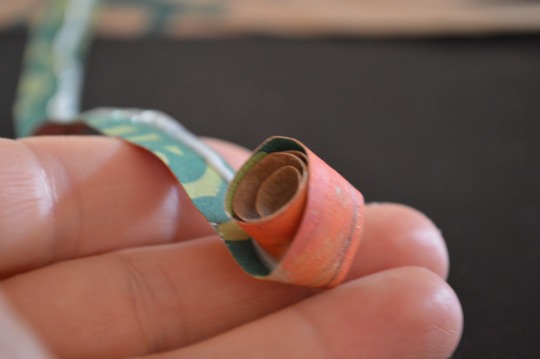
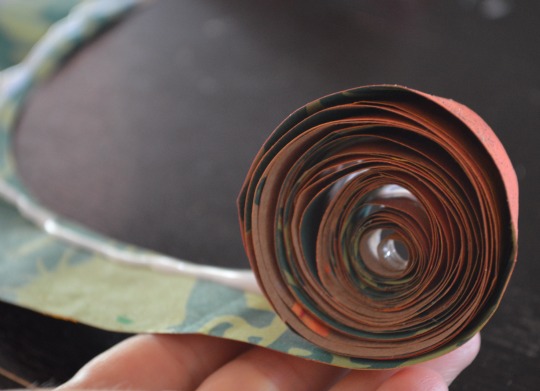
Step 5 – Starting with the small end and being generous with the glue, begin to roll your snake loosely, adding glue in a continuous line along the inside curve of the snake. (See the next couple of photos. It’ll make more sense once you begin rolling.) I obviously didn’t paint both sides of the sack in this case. The grocery logo colors look kind of cool though, too.
Step 6 – Continue rolling, pressing along the glued edge and giving slack on the unglued edge to create the effect of petals. This will be easier once you get to the thicker part of the spiral.
Step 7 – Once you reach the end, put a whole bunch of glue in the center base as shown.
Step 8 – Press the base against the underside of the flower and hold securely for a few minutes.
Step 9 – Place in a cup to dry for a few hours or overnight.
That’s it! You can now attach them, suspend them, line them on a windowsill or float them down a river cupping tea candles (no guarantees).
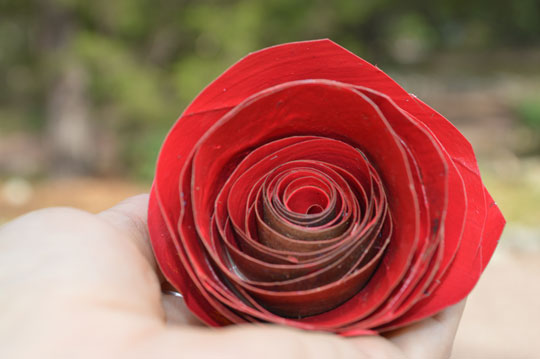
My favorite part about this craft is the beauty in the imperfection. Some of the messiest, most inexact painted sacks made the prettiest flowers. (Imagine that.) On the other hand, they can easily be crafted with a bit more precision and used as wedding or party decorations. The points from the inexact cutting on this rose make it all the more elegant, don’t they?
Enjoy, and I’d love to see photos of your creations!




What a fun project. Must do this soon with my kiddos.
Love the idea. About a week ago someone brought a brown grocery sack to me from the USA. I had not seen one in so long, except when I’m up there, that I was surprised.
Hmmm, maybe someone will be driving down and will bring a stash of grocery sacks! What fun……..
As a former perfectionist, I truly like the uniqueness of each flower…….
Thanks for sharing.
Doing this right now! The kids have painted the sacks but I didn’t tell
Them what we are creating. I love the mess and imperfection. Can’t wait
To see how they turn out! Thanks for the awesome idea!!
We painted our bags a week or so ago and now just finished our first flower. It is a great activity when you have just 20-30 minutes. Many more to go…they are so pretty 🙂