October 16, 2012
I adore the fall of the year. Having grown up in Wisconsin, where autumn is announced everywhere — in the crunch of leaves underfoot, in unreal canopies of color, in the turn of the cider press, the itch of hay upon sitting and in piles of squatty squash assessed for personality, I’ve had to learn to look a little closer to see the ways that coastal Mexico celebrates the turn of season.
While raking leaves the other day (a year-round endeavor in the tropics), I decided to abandon my preconceived notions about what autumn is “supposed” to look like. Quite suddenly, I was surrounded by gifts of the season — seed pods of every imaginable shape, leaves painted in swirls of yellows and browns, and a distinctly different “feel” in the air than summertime’s signature.
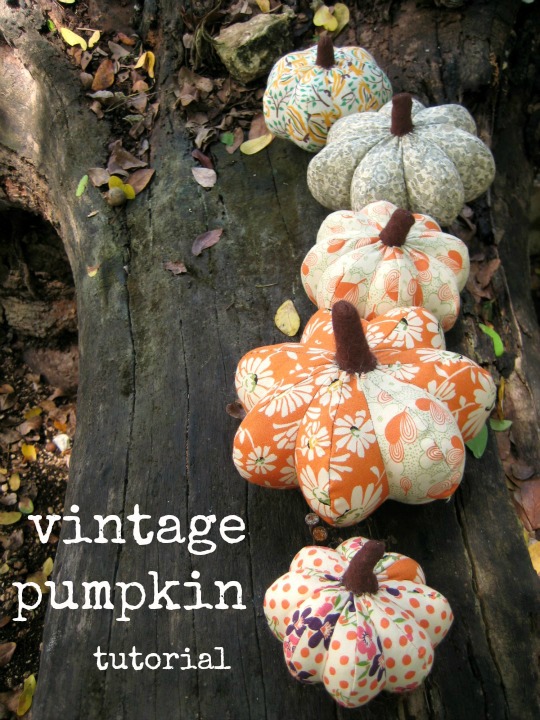
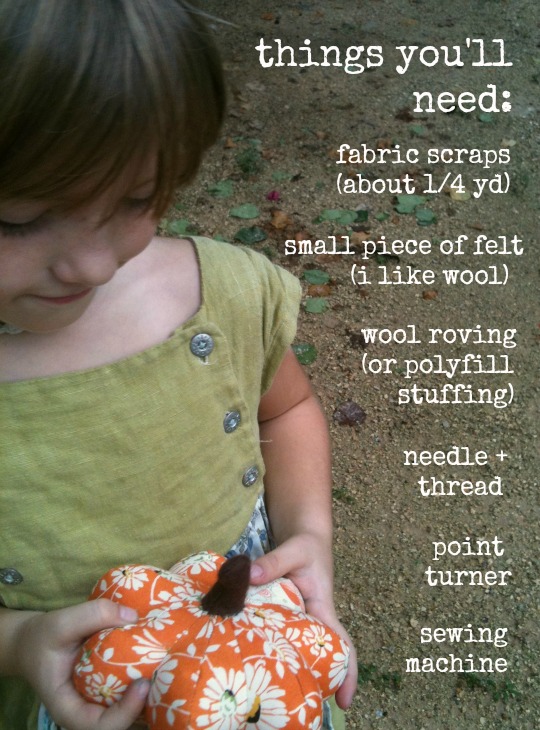
As happy as I am to have noticed autumn here, I’ve still got this thing for pumpkins. Last year we found winter squash to be a lovely substitute. This year, while still on the hunt for something suitable with which to make pie, I decided to combine two of my favorites things — pumpkins and vintage fabric — into a seasonal offering of my own.
So without further ado, let’s make pumpkins! (I’ll be using the true vintage print for the tutorial.)
*Basic machine sewing skills assumed.
Step 1:
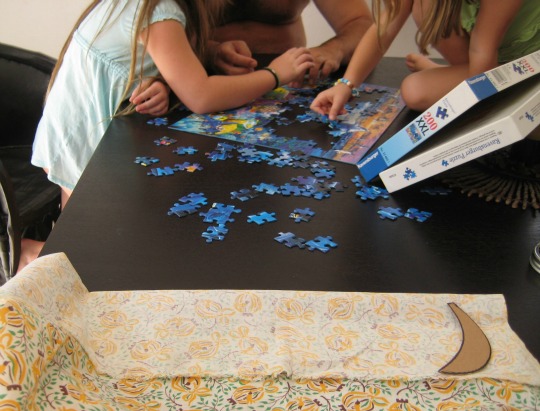
Clear a small workspace from whatever other living happens to be going on.
Step 2:
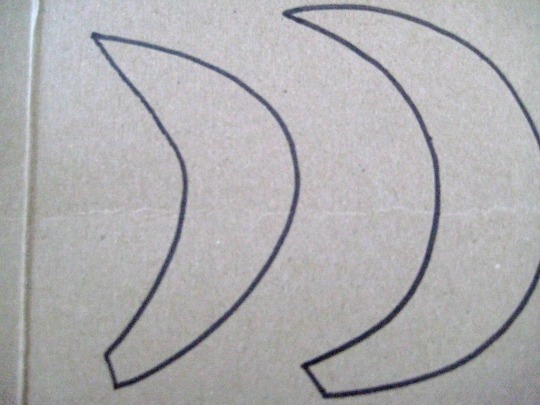
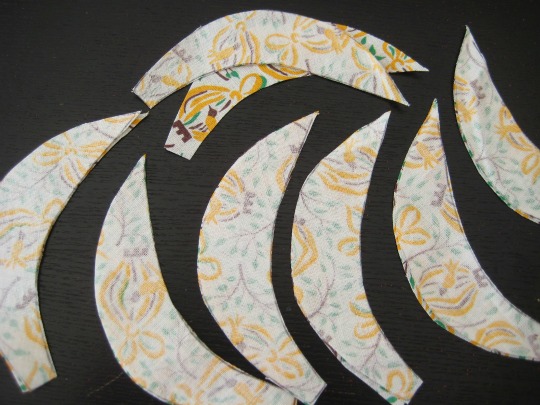
Cut a banana shape out of an old cereal box (or any paperboard), with one end pointed and the other flat. The patterns I drew ranged from three to five inches tall. *Note — The shape ABOVE yields a rounder, less segmented-looking pumpkin. The ones BELOW will be more squatty, with distinct grooves. It’s all about the depth of the bend.
Step 3:
With right sides of fabric together, trace and cut out seven pairs of pumpkin slices.
Step 4:
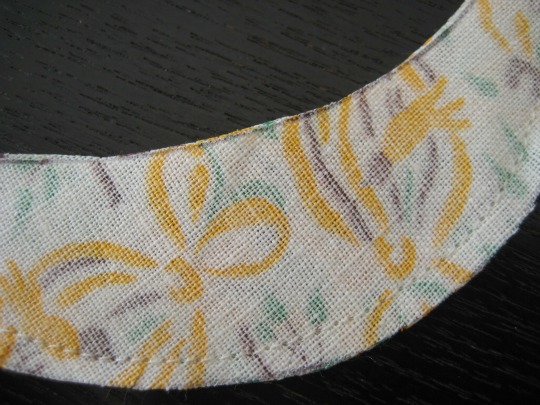
Keeping right sides together and using the edge of your presser foot to gauge the seam allowance, sew along the outside edge of each pair, backstitching at both ends.
Step 5:
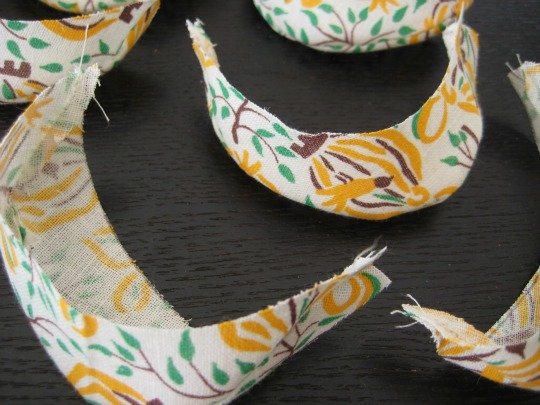
Clip curves to ease edges, then turn right sides out, finger pressing to shape.
Step 6:
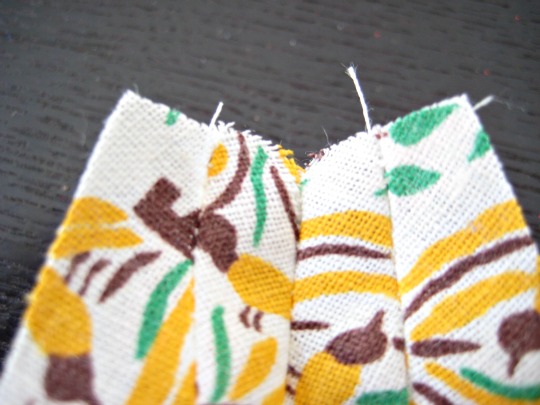
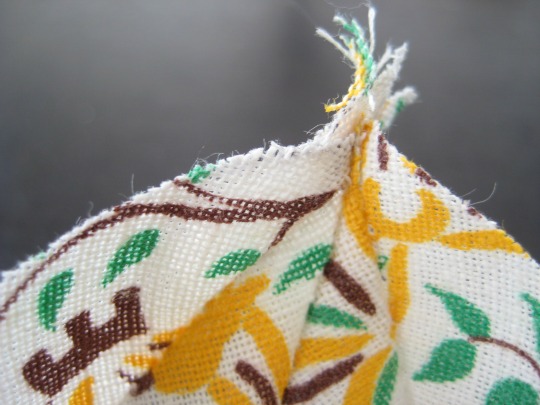
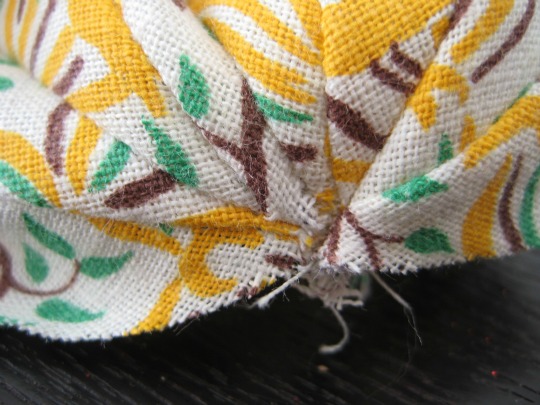
With right sides together, sew two finished sections together along inside curve. One end will look like this…
And the other like this…
Step 7:
Continue adding sections until all seven sections are sewn together. As you go, it will look something like this…
Step 8:
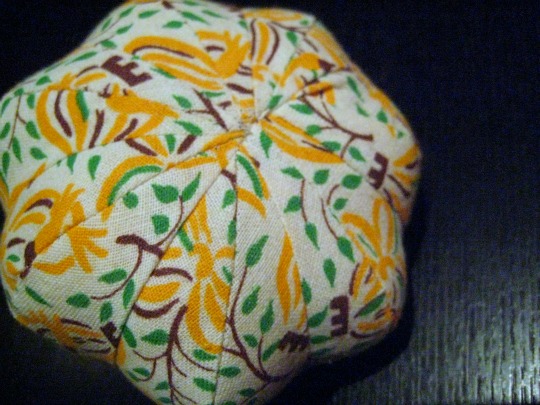
With right sides together, sew the two remaining raw edges together, creating the pumpkin sphere. It is a bit inexact aligning the points, just do your best (it’s the bottom, after all). Mine turned out like this…
Quick note to all you perfectionists out there. I, myself, am a recovering perfectionist who has slowly come to believe that one: perfectionism can make you insane, and two: it’s rarely worth it, especially not when you’re doing something as small in the overall scheme of things as sewing a stuffed squash.
Step 9:
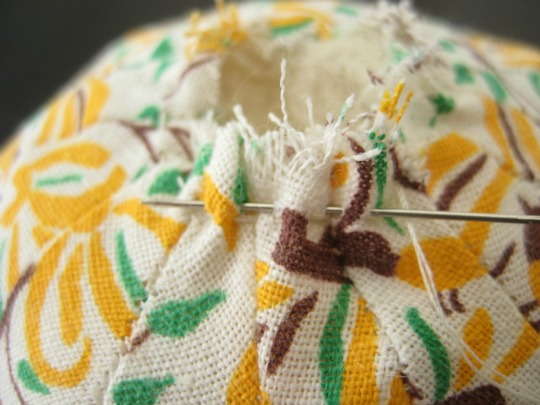
Stuff your pumpkin, using the point turner to fill out each section until it’s shapely. Knotting one end of your thread, gather stitch the top edge around the circumference of the open circle. I like to go around twice just to make sure it’s nice and strong before I pull it closed. Pull the gather string, closing the top and tucking raw edges inside as you go. Tack thread securely. (Again, no exact science here. The hole will be covered by the stem anyway.)
Step 10:
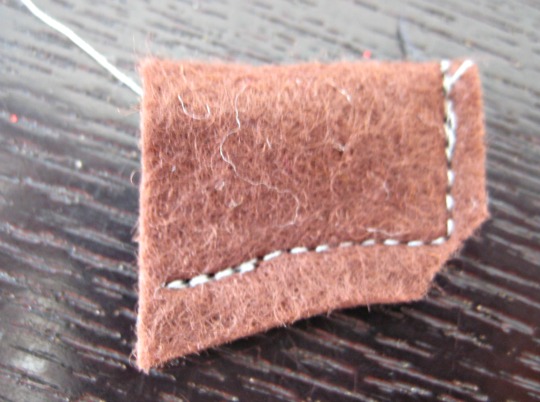
Fold your felt in half and sew the top and open edge of your stem into the shape you want. You can give it a little bend if you like, just make sure and clip the curve if needed. Trim edges and cut the corner for ease in turning. Turn right side out using your point turner.
Step 11:
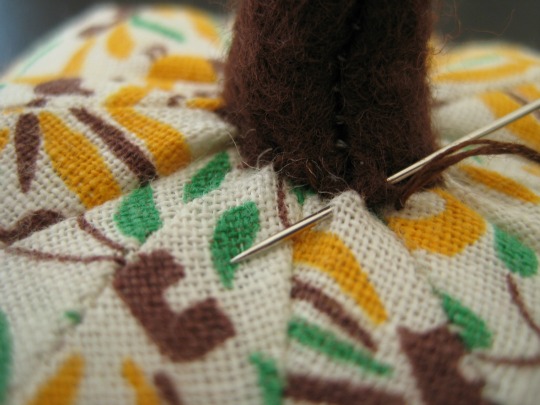
Stuff your stem. With the bottom open and round, attach it to your pumpkin with small stitches (not sure if this is technically a whipstitch but that is what I would call it).
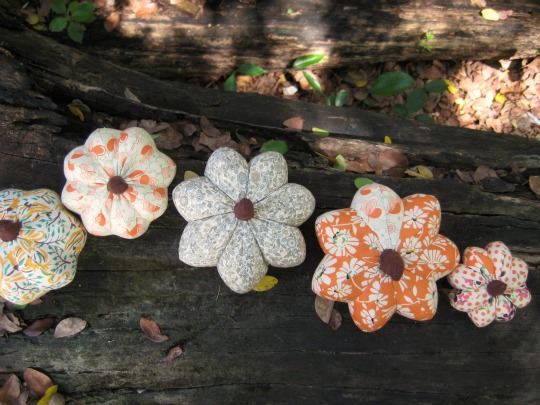
And there you have it! Play around with different segment shapes and sizes for all kinds of interesting pumpkins, then get outside and enjoy autumn’s finest!
Love the tutorial? Pin it, tweet it, share it! Questions or suggestions? Bring ’em on.

Any tips for letting go of perfectionism? I’ve got a long way to go!
Oh, that’ll fill a blog post, easy! Thanks for the suggestion, and stay tuned!
I love these! Too bad I don’t have any of the things I need to make them…or you to teach me in person 🙂
You neighbors sure make Austin hard to write off forever, that’s for sure.
Thanks for the tutorial, I used it to create a costume for my daughter!
http://sennazus.blogspot.com/2012/10/the-little-pumpkin.html
How cool!! I’d love to see a photo!
Photos at this link: http://sennazus.blogspot.com/2012/10/the-little-pumpkin.html And, with halloween over, I cinched the top and bottom up tightly so the pumpkin is now serving as decoration.
SO COOL!!!! I’m totally impressed. Nice work.
Thank you, I’ll try this. I have a hankering for some homemade pumpkins, squash and apples.